
How to Build a Charcuterie & Cheese Platter
Ever see a beautiful charcuterie and cheese platter on Instagram and think “how do they do it?” Well, I’m here to tell you it’s actually pretty simple. Creating an incredible charcuterie platter, grazing board, cheese plate, whatever you want to call it, is much easier than you think! Check out my tips and tricks below!

Charcuterie & Cheese Plate Components→
Cheese: Variety is key when selecting cheese. I try to choose a variety of cow, goat, and sheep’s milk cheeses. I select one soft (like brie or camembert) one hard (cheddar, manchego) one aged (gouda, aged cheddar) and something funky like blue cheese or cranberry studded Wensleydale.
Meat: The best thing to do when purchasing meats for your plate/platter/board is to hit up the deli counter at the grocery store. From there you can sample and try different meats. You can also order just as much as you need. Ask the person behind the counter for just 4-6 slices of a few different salamis, prosciuttos, etc.
Accompaniments: A great opportunity to clean out your pantry or fridge. I always seem to have a few almonds or walnuts in the pantry and some olives and pickles in the fridge. Dried and fresh fruits are great too especially with a soft cheese like brie or goat.
Spreads: Grainy mustard, dijon, fig jam, chutney, and honey are all great choices.
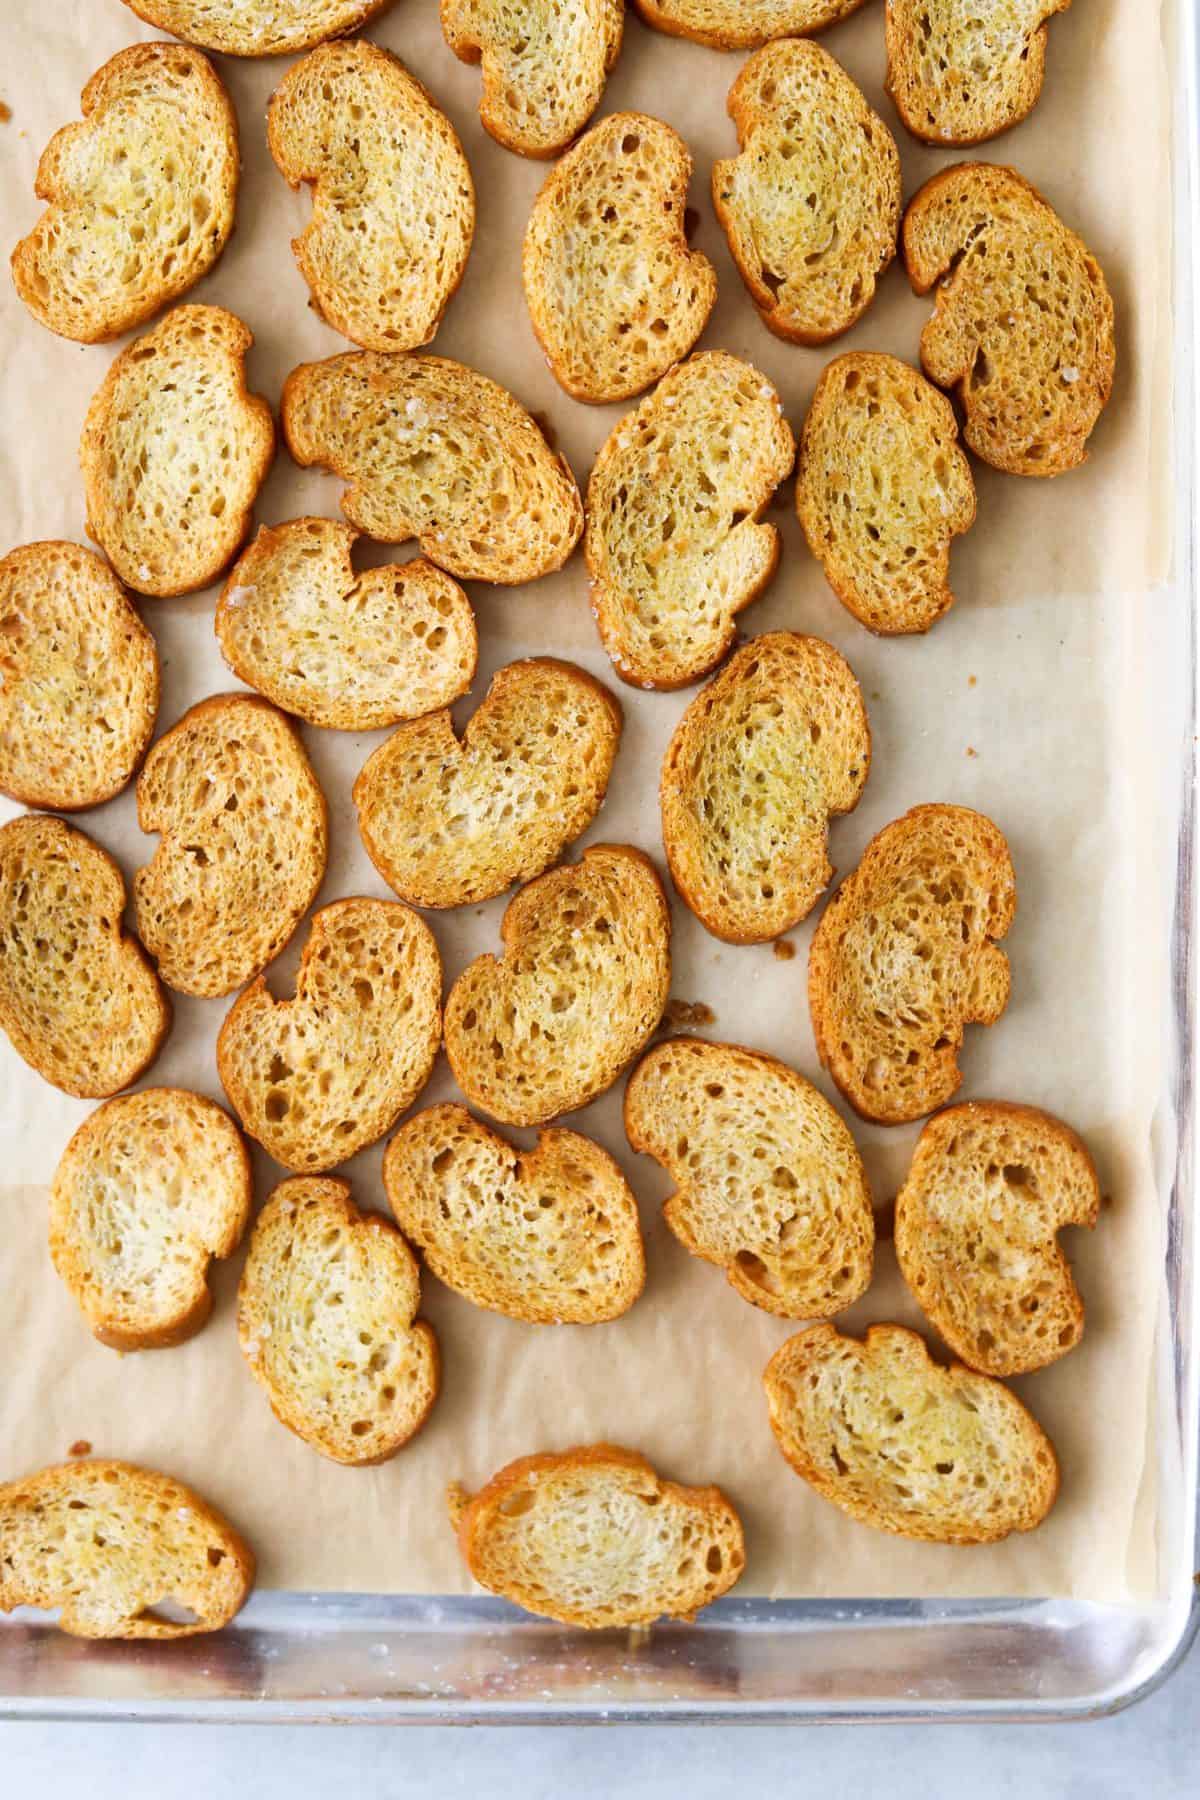
Bread/Crackers: Choose at least two different vehicles for your meats and cheeses. A simple sea salt cracker and then maybe something with a little more flavor. I’ve been loving these Cacao Nibs and Dried Cherry Crackers. You can make your own crostini too or slice up a good quality loaf of bread.
Tips & Tricks for Charcuterie and Cheese Platters→
How much meat/cheese will you need? I recommend about 3oz each of meat and cheese per person as an appetizer. That’s about 4 slices of salami or prosciutto and 3-4 slices of cheese. If you’re serving charcuterie and cheese as an entree bump that numbers up to 6oz each of meat and cheese per person.
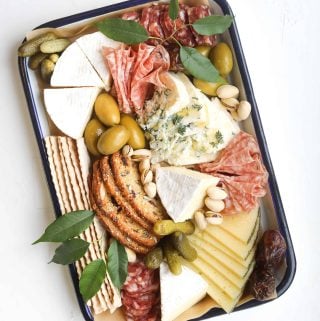
How to Assemble the board/plate/platter: First pick your serving vessel. You can use a large plate or platter, a tray as I have used in the photo above or a wooden board. I really like to lay down a piece of parchment before I start placing the meats and cheeses. It makes clean up very quick and easy plus I think it looks nice. Check out my video below to see exactly how I assemble my platter.
Temperature: Cheese is best served at room temperature. Take it out of the fridge an hour before you’re ready to assemble and serve. Meats should be served cold.
Can the platter be made ahead of time? Yes, it can! You can make a charcuterie and cheese platter a few hours ahead of time just wrap it in plastic wrap and store in the fridge and take it out 30-40 minutes before you’re ready to serve it. Leave the crackers until the last minute. They will get stale and possibly soggy in the fridge.
Garnishes: I like to brighten up the platter with a little something green. You can use fresh rosemary, flowers or some green trimmings from your garden. This is totally optional.
Check out this video to see exactly how I assemble a charcuterie + cheese platter→

The best places to shop for Charcuterie and Cheese→
Local Cheese Shops: Always try and support local shops when possible. Los Angeles has a few great ones like The Cheese Store of Beverly Hills and DTLA Cheese.
Trader Joes: They by far, have the best deals on cheese. They carry a variety of great brands. I like to grab garnishes here too you can’t beat their prices on nuts and dried fruit.
Whole Foods: Whole foods is good too. They have a deli counter with a variety of salamis and prosciuttos to choose from. They also carry all my favorite crackers.
Costco: Surprise! Costco has a great cheese section. The only problem? The portions are huge. If you creating a spread for a large crowd then consider checking out the selection at your local Costco.
Ingredients
- 8 oz finocchiona salami (or prosciutto) thinly sliced
- 8 oz hard salami thinly sliced
- 8 oz manchego cheese
- 8 oz brie cheese
- 8 oz blue cheese
- 1 c olives
- 1 c cornichons
- 1/2 c dried dates or dried apricots
- 1 c pistachios any nut is fine
- 3 tbsp honey
- 2 boxes crackers or flatbreads
- something green to garnish; rosemary, fresh flowers or green plant trimmings optional
Instructions
- Lay a piece of parchment on a serving plate, platter or board.
- Arrange the cheese first on opposite ends of the platter. Slice the manchego into thin, easy to grab slices, cut the brie into 8 wedges, leave the blue cheese whole or crumble it slightly. Drizzle the honey over the blue cheese.
- Next, place the meats in between the cheeses. Fold each slice of finocchiona in half then bundle a few folded slices together and place them onto the platter to resemble a flower.
- Next fill in the gaps with the olives, cornichons, and dates. Last, add the crackers, flatbread and any garnishes you like. Serve immediately!
Notes
Can the platter be made ahead of time? Yes, it can! You can make a charcuterie and cheese platter a few hours ahead of time just wrap it in plastic wrap and store in the fridge and take it out 30-40 minutes before you’re ready to serve it. Leave the crackers until the last minute. They will get stale and possibly soggy in the fridge.
Nutrition

Check out more great recipes below→
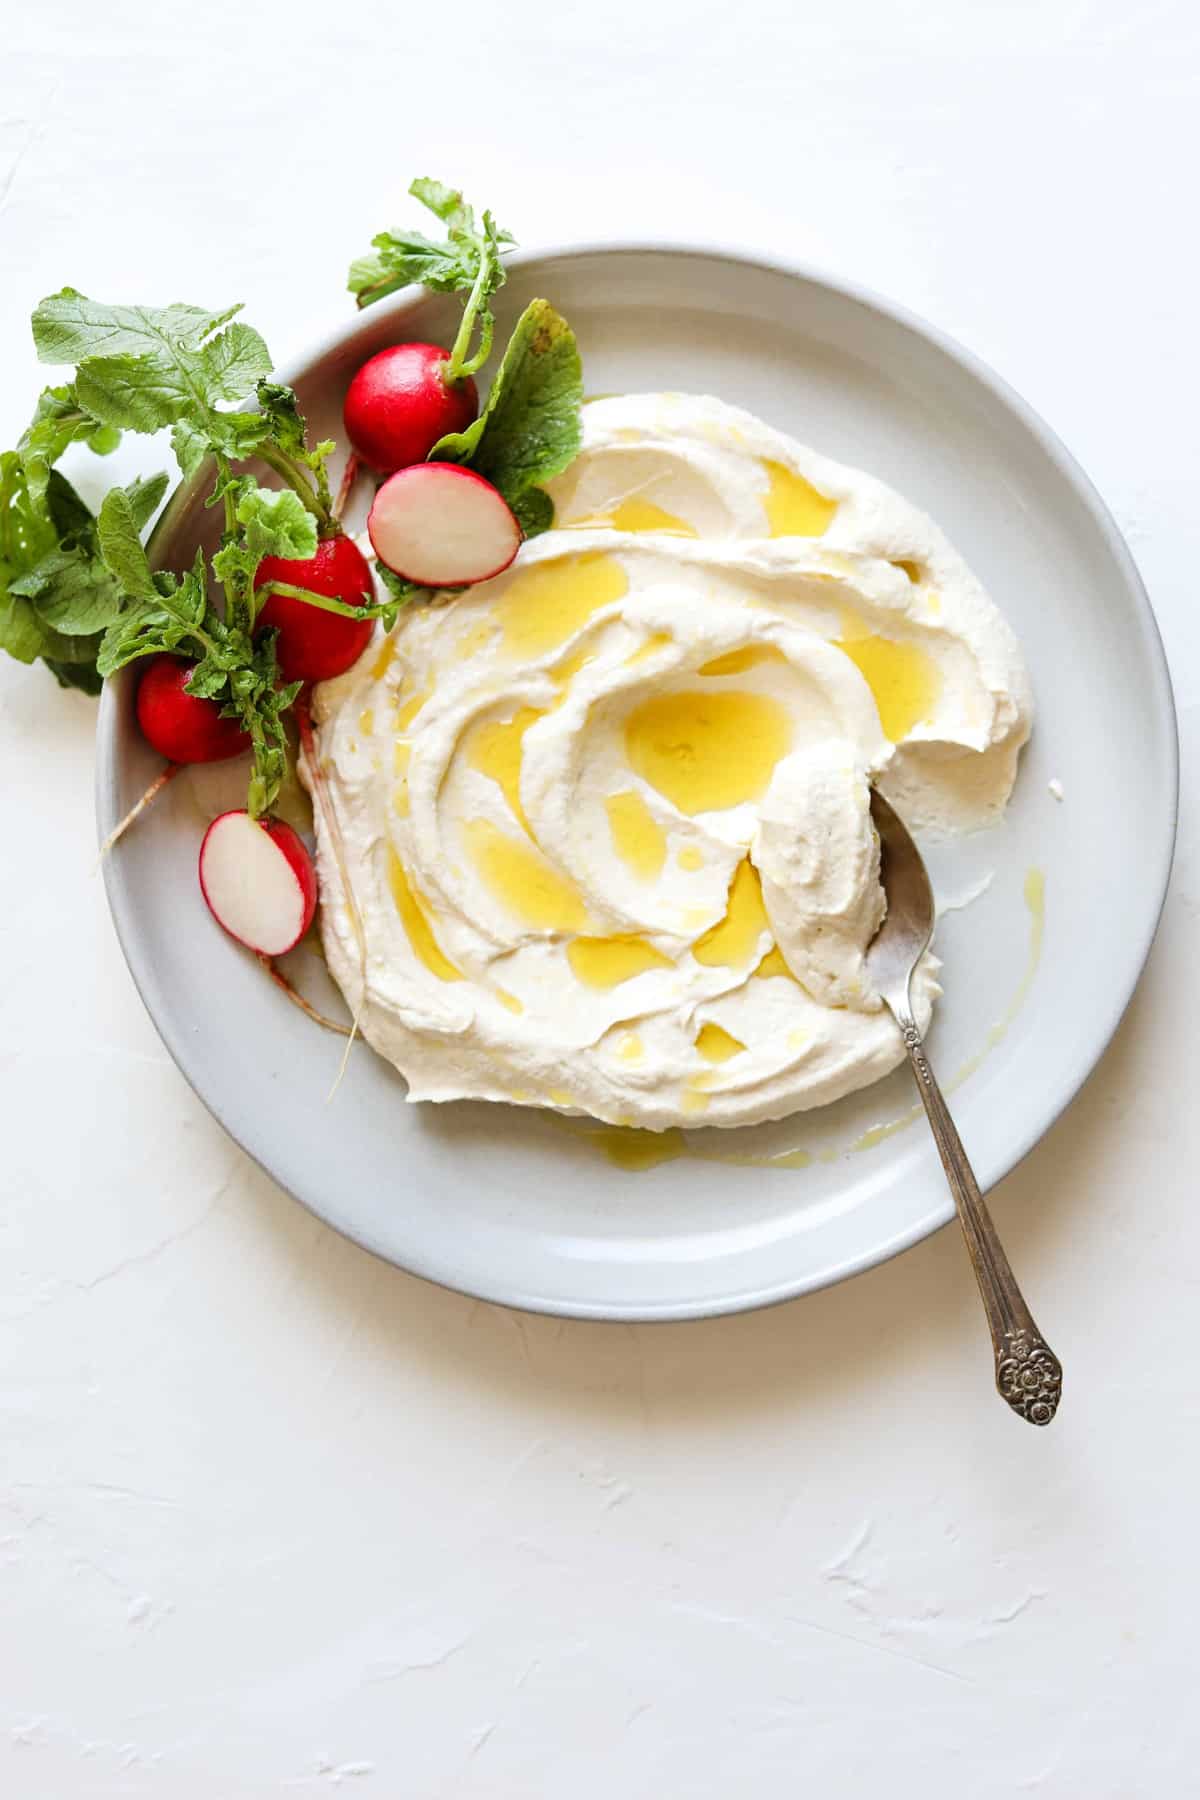
Garlicky Labneh + Tahini Dip
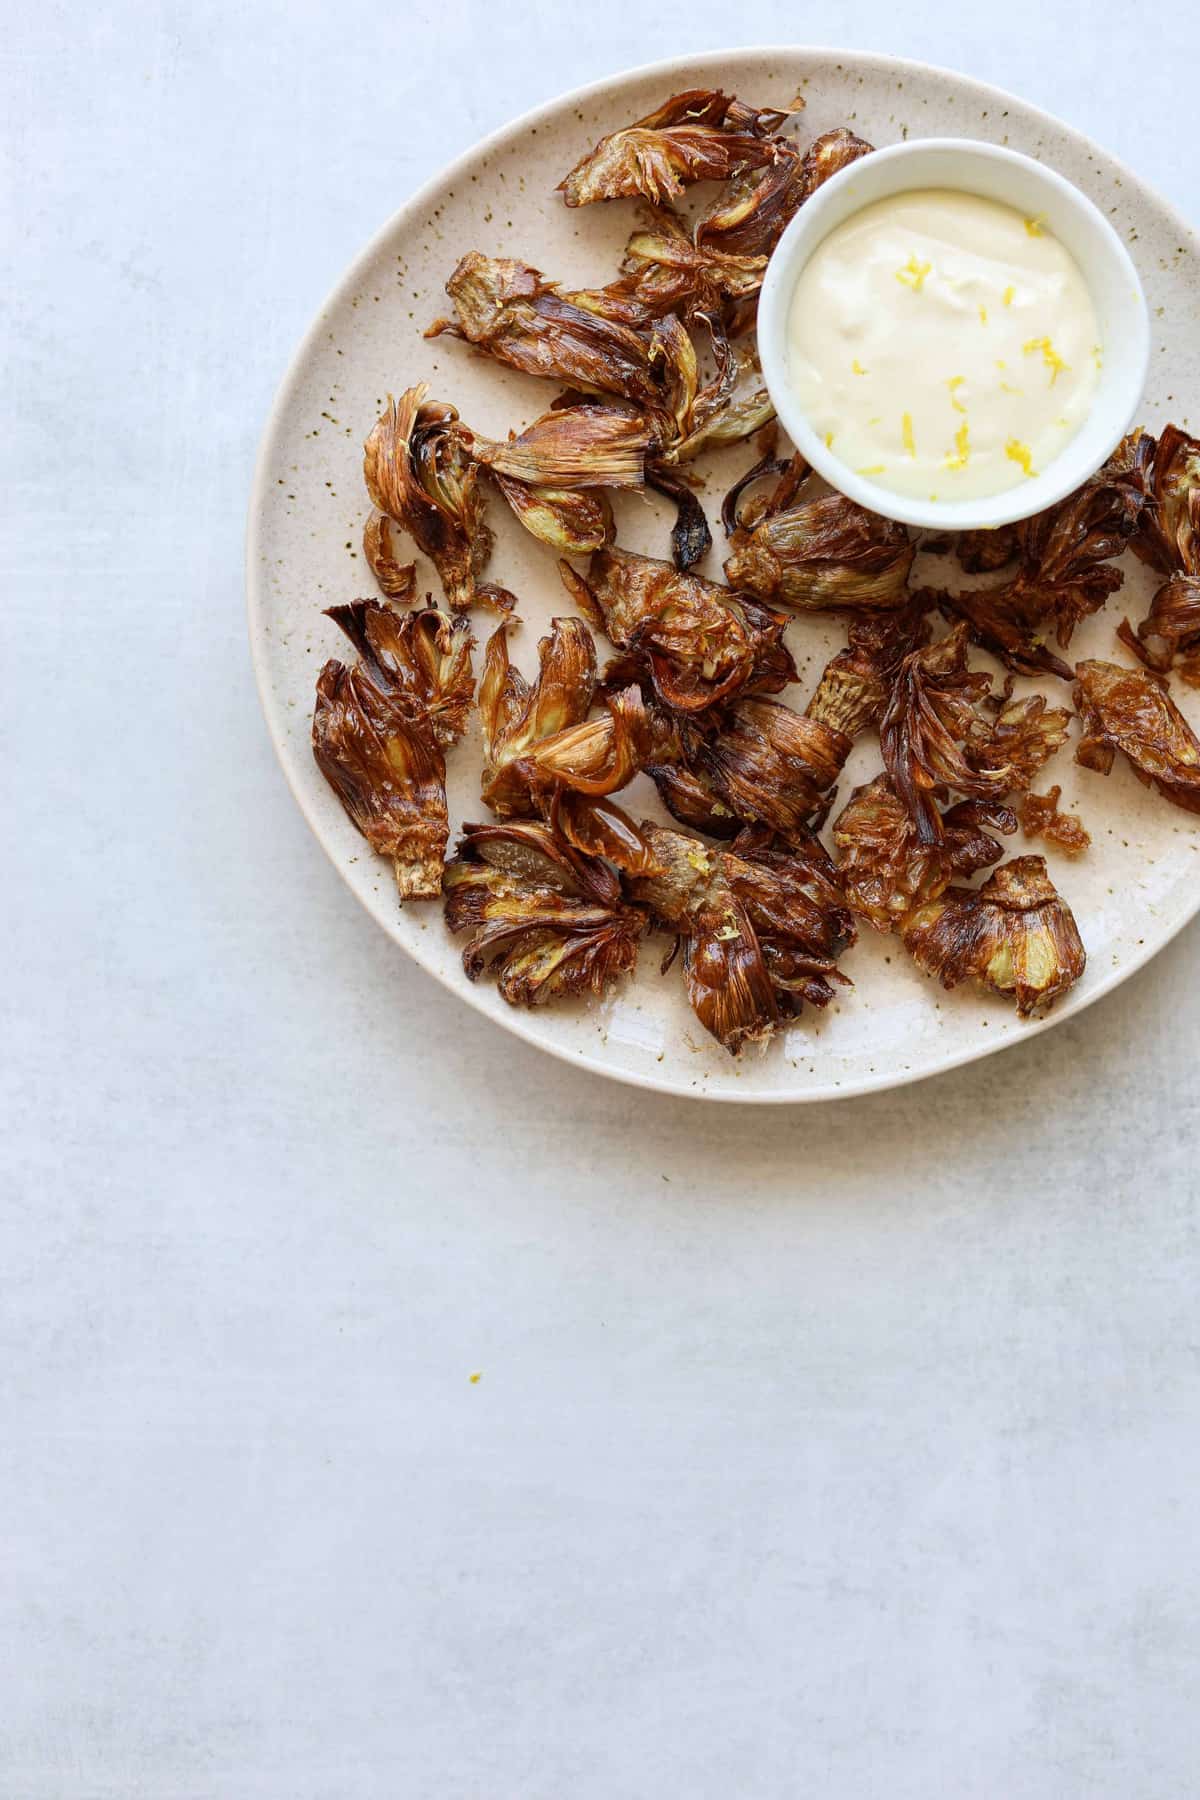
Fried Artichokes with Lemony Garlic Aioli


This is so helpful – thanks!
Looks great!