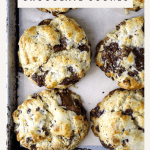
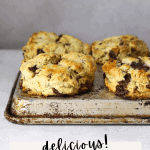
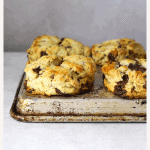
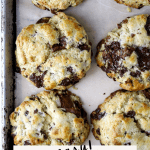
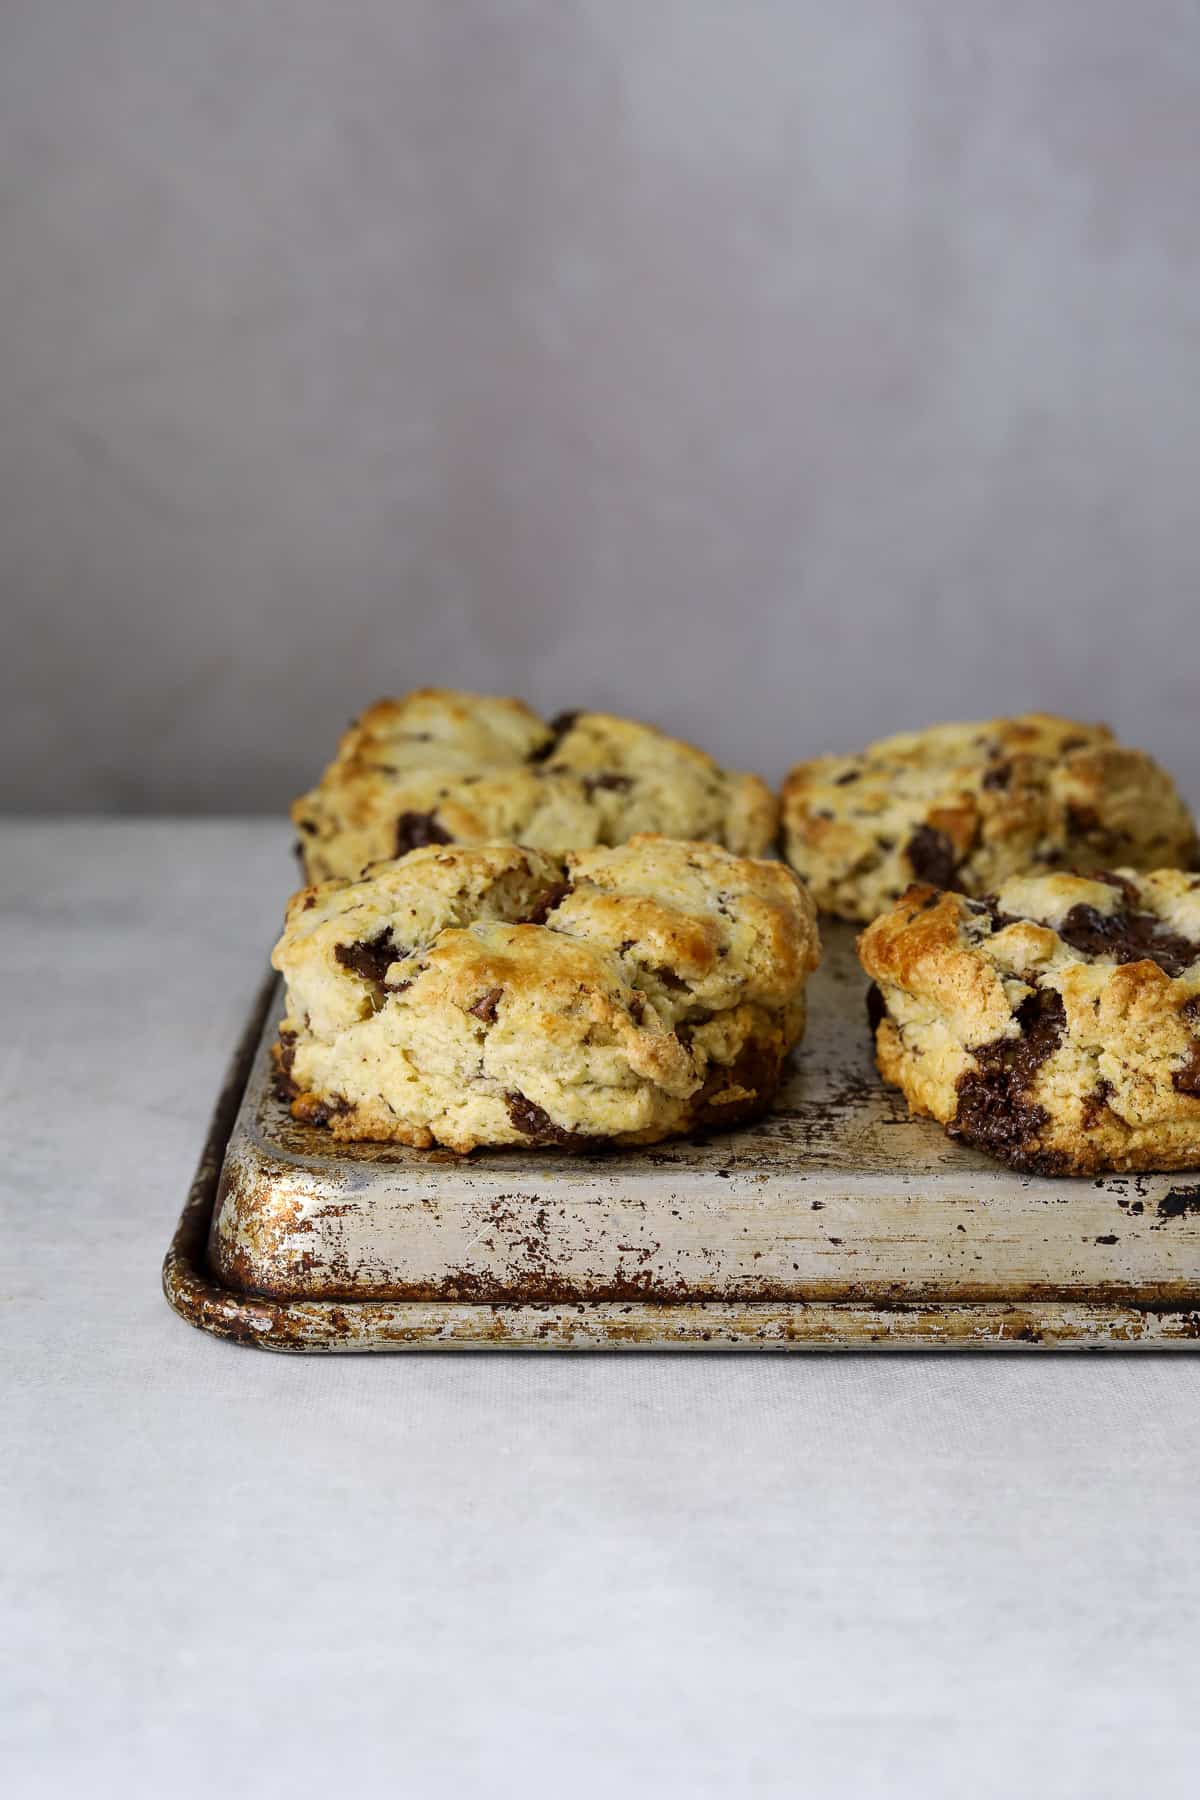
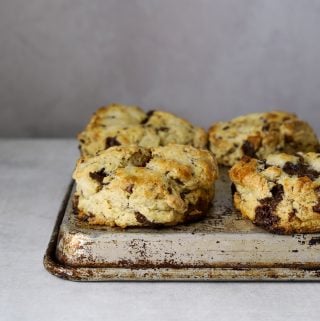
Double Chocolate Scones
Pillowy soft, buttery scones speckled with both milk and dark chocolate. These chocolatey scones are perfectly sweet and super easy to make! Serve warm alongside you’re favorite coffee or tea!
If you’re someone who would like to eat chocolate chip cookies for breakfast, this double chocolate scone recipe was made for you! The best part…they are so easy to make and can even be ahead of time and stored in the freezer so you can have freshly baked, warm scones whenever you need them!
These double chocolate scones are made with not one but TWO different types of chocolate. This recipe uses a bar of milk chocolate and a bar of dark chocolate creating an extra chocolatey scone speckled with puddles of warm melted milk and dark chocolate!
The Secret To Moist and Fluffy Scones:
- Use good quality ingredients. This is especially important with butter and chocolate. Spring for high-quality chocolate and fancy European butter.
- Start with Cold Ingredients. Cold ingredients = light and fluffy scones. You can even pop all of the ingredients in the freezer for a few minutes before you begin the recipe.
- Don’t Over Mix. Over-mixing will lead to dry, tough scones. Knead the dough gently, just until it holds together. It will be a bit shaggy and not totally uniform, that’s normal.
- Brush with Buttermilk. Brushing the tops of the scones with buttermilk before baking will give them a crisp, golden-brown crust. Check out this post to learn Three Ways to Make Buttermilk.
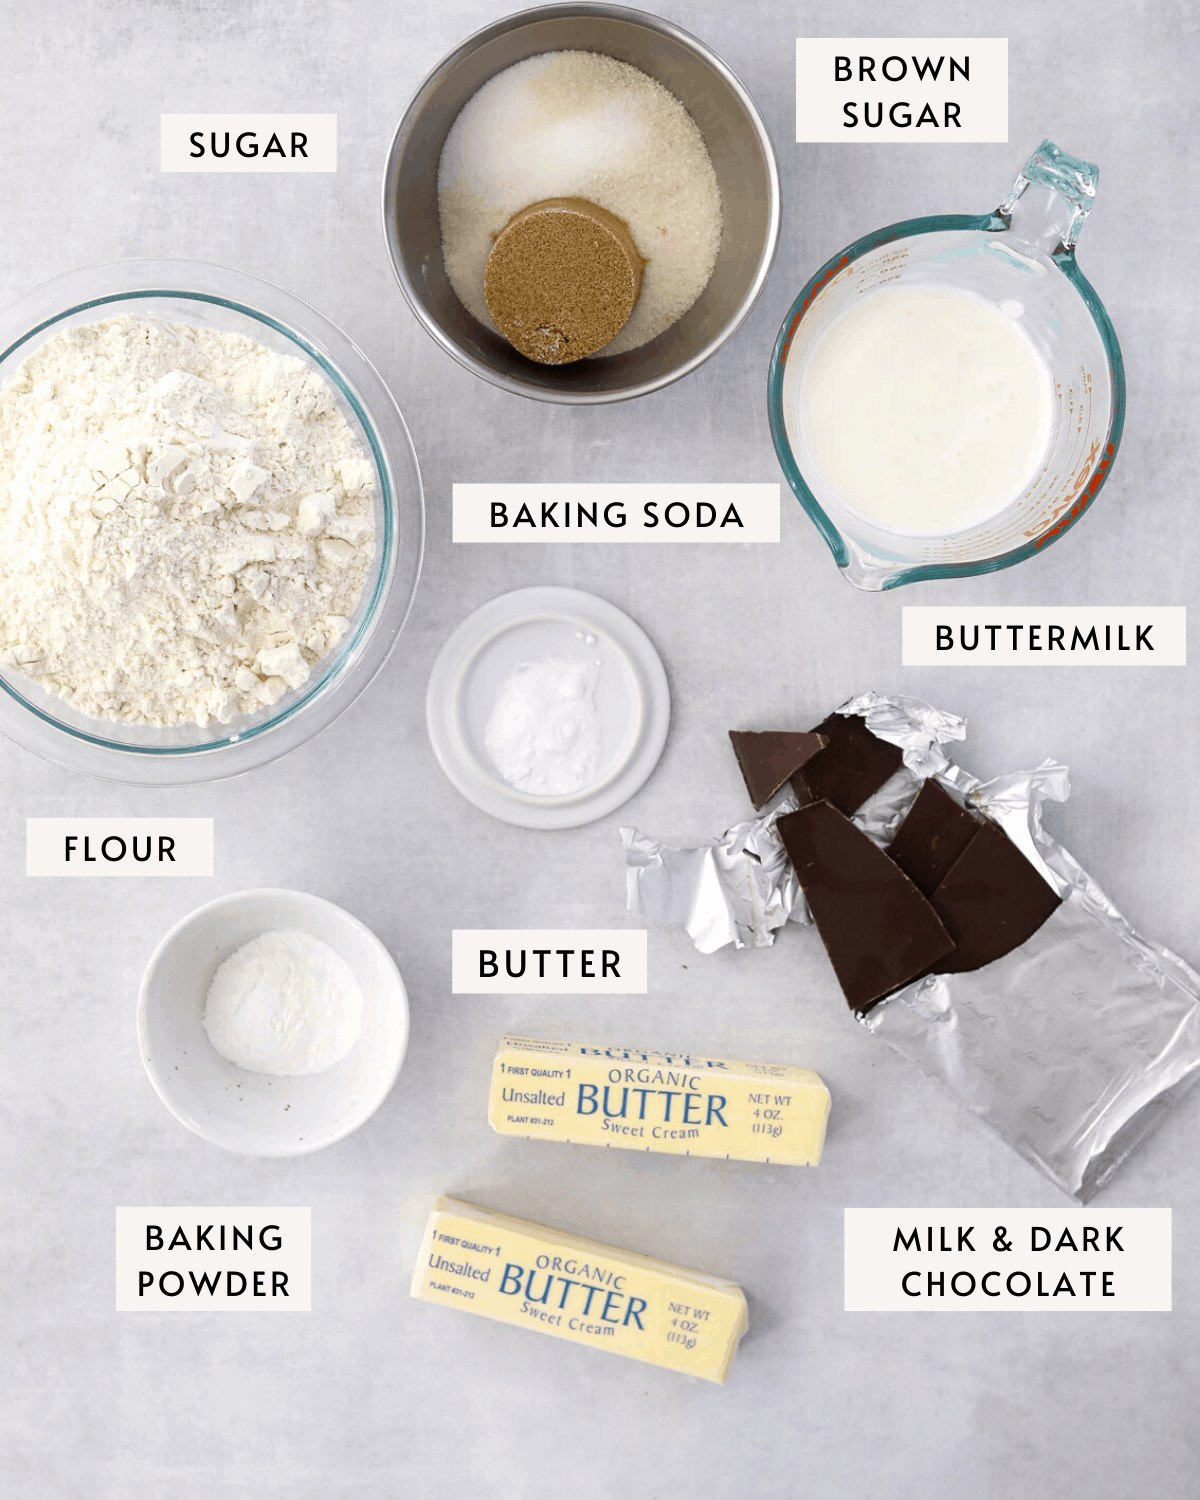
Ingredients You’ll Need
Here’s everything you’ll need to make double chocolate scones; flour, baking soda, baking powder, brown sugar, sugar, buttermilk, butter, both milk, and dark chocolate.
Recipe Step by Step
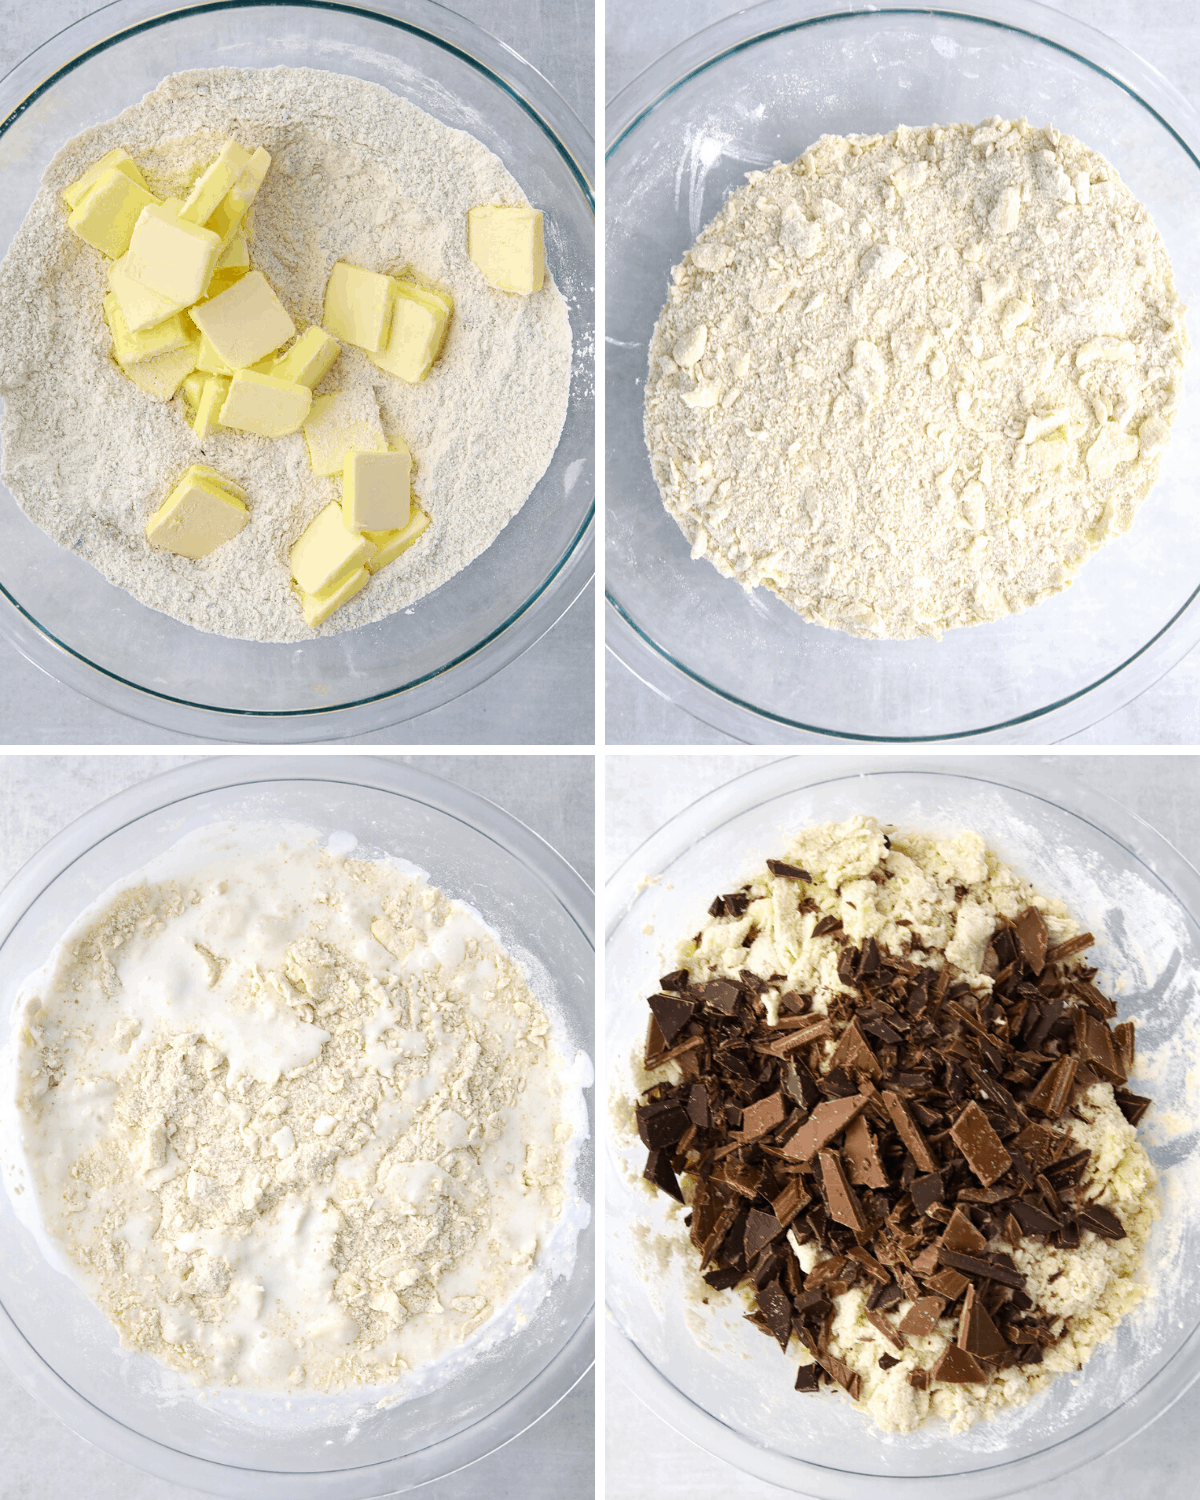
Step 1. Make the Dough
To begin, work the butter into the dry ingredients, you can use your fingertips or a pastry cutter to do this. Next, fold in the buttermilk followed by the chopped chocolate. Do not over mix. Chill the dough in the refrigerator for 20 minutes.
Step 2. Shape The Scones
Roll the chilled dough to 1-inch thick. Use a round biscuit cutter to cut circles of dough. Place the scones on a baking pan lined with parchment paper.
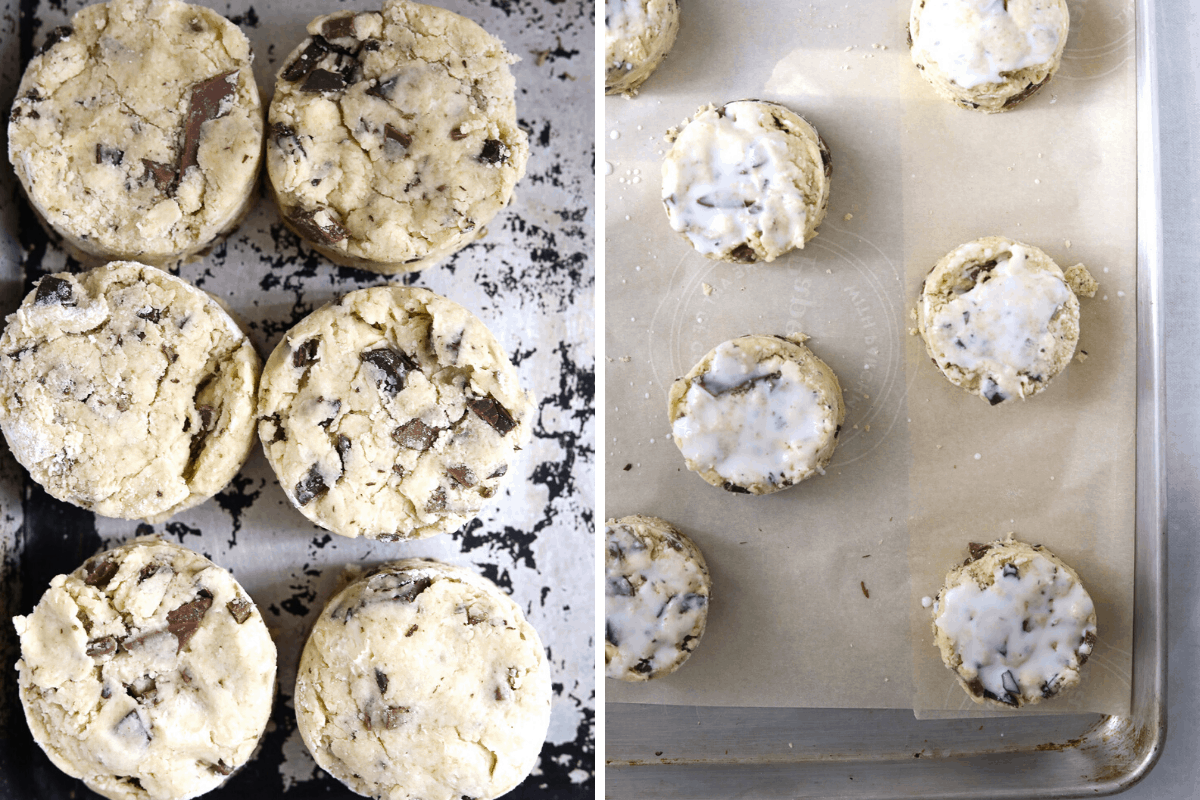
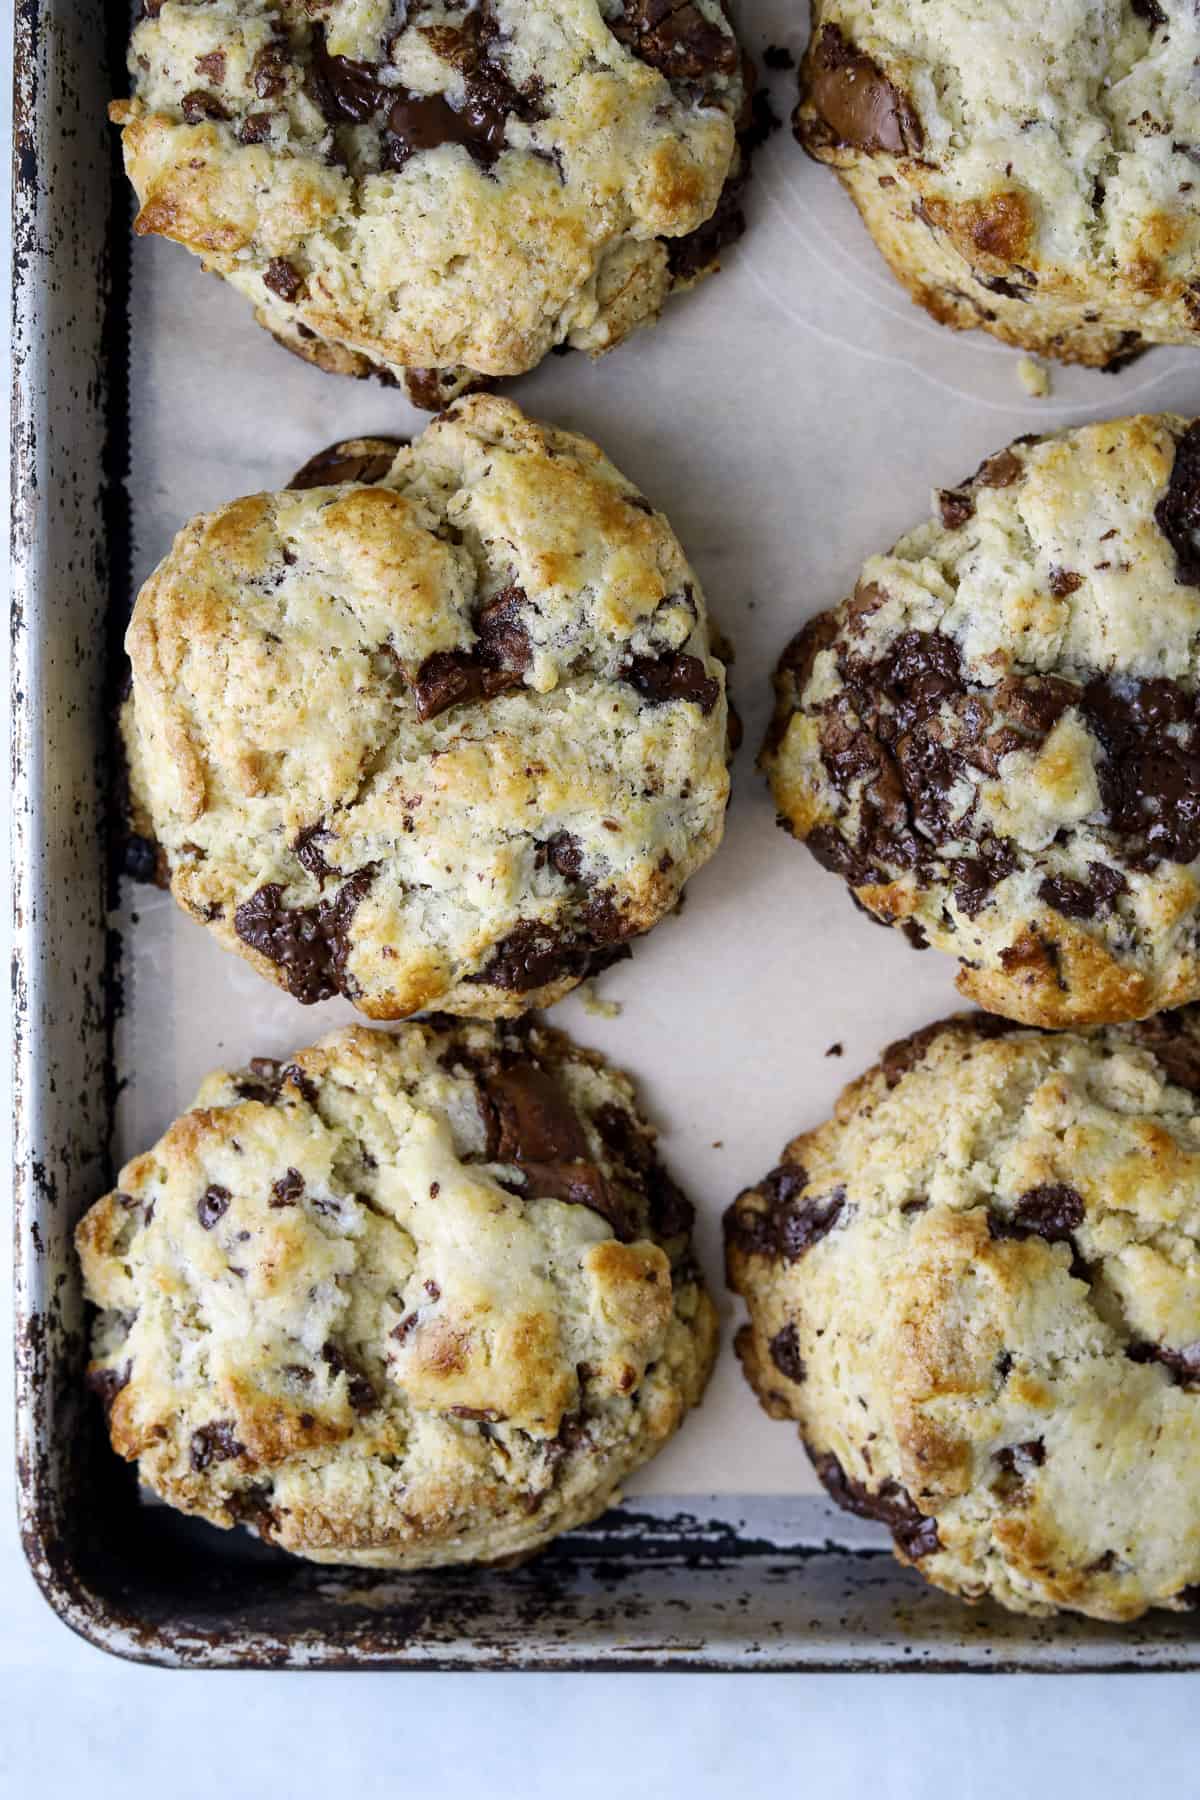
Step 3. Bake
Brush the tops of the scones with buttermilk. Bake for 20 minutes until the tops are browned and the insides are fully baked.
FAQs & Expert Tips
I always suggest high-quality chocolate for baking. Some of my favorite brands are Sharfenberger, Tony’s, Valrhona, and Theo.
Yes, it’s best to freeze them after shaping but before baking. Store them frozen in an airtight freezer bag for up to 3 months, any longer than that and they could develop freezer burn.
Scones are best served on the day they are made but will keep for up to 3 days in an airtight container. Just warm them before serving to make them soft and fluffy.
Check Out More Great Recipes
I love to hear from readers and always do my best to respond to each and every comment. If you make this recipe be sure to leave a comment and/or give it a rating! Don’t forget to follow along on Pinterest, Facebook, and Instagram for all the latest updates!
Double Chocolate Scones
Ingredients
- 3 1/4 c all-purpose flour
- 1/2 c sugar
- 1/4 c brown sugar
- 1 tbsp baking powder
- 1 tsp baking soda
- 1 tsp salt
- 1 c cold butter - diced
- 3/4 c buttermilk - plus extra for topping the scones
- 3.5 oz milk chocolate bar - coarsely chopped
- 3.5 oz dark chocolate bar - coarsely chopped
Instructions
- In a large bowl whisk together the flour, baking powder, baking soda, salt, and sugars. Next, add in the diced butter use a pastry cutter, or your fingers to work the butter into the flour mixture until it comes together in pea-sized crumbs.
- Next, pour the buttermilk and chopped chocolate into the flour mixture. Fold everything together just to incorporate; do not overwork the dough. Chill the dough in the refrigerator for 20 minutes.
- Preheat the oven to 400 degrees F.
- Turn the dough out onto a well-floured surface and shape it into a ball. Flour your hands and a rolling pin and roll the dough 1-inch thick. Flour a 3-inch round plain or fluted cutter and cut circles of dough. Place the scones on a baking pan lined with parchment paper. Collect the scraps neatly, roll them out, and cut more circles.
- Brush the tops of the scones with buttermilk and for extra crunch, sprinkle with coarse sugar (optional). Bake for 20 to 25 minutes, until the tops are browned and the insides are fully baked. The scones will be firm to the touch. Let cool for 10 minutes before serving.
Notes
- Use good quality ingredients. This is especially important with butter and chocolate. Spring for high-quality chocolate and fancy European butter.
- Start with Cold Ingredients. Cold ingredients = light and fluffy scones. You can even pop all of the ingredients in the freezer for a few minutes before you begin the recipe.
- Don’t Over Mix. Overmixing will lead to dry, tough scones. Knead the dough gently, just until it holds together. It will be a bit shaggy and not totally uniform, that’s normal.
- Brush with Buttermilk. Brushing the tops of the scones with buttermilk before baking will give them a crisp, golden-brown crust.
- Storage: Scones are best served on the day they are made but will keep for up to 3 days in an airtight container. Just warm them before serving to make them soft and fluffy.
- Freezing Scones: It’s best to freeze scones after shaping but before baking. Store them frozen in an airtight freezer bag for up to 3 months, any longer than that and they could develop freezer burn.